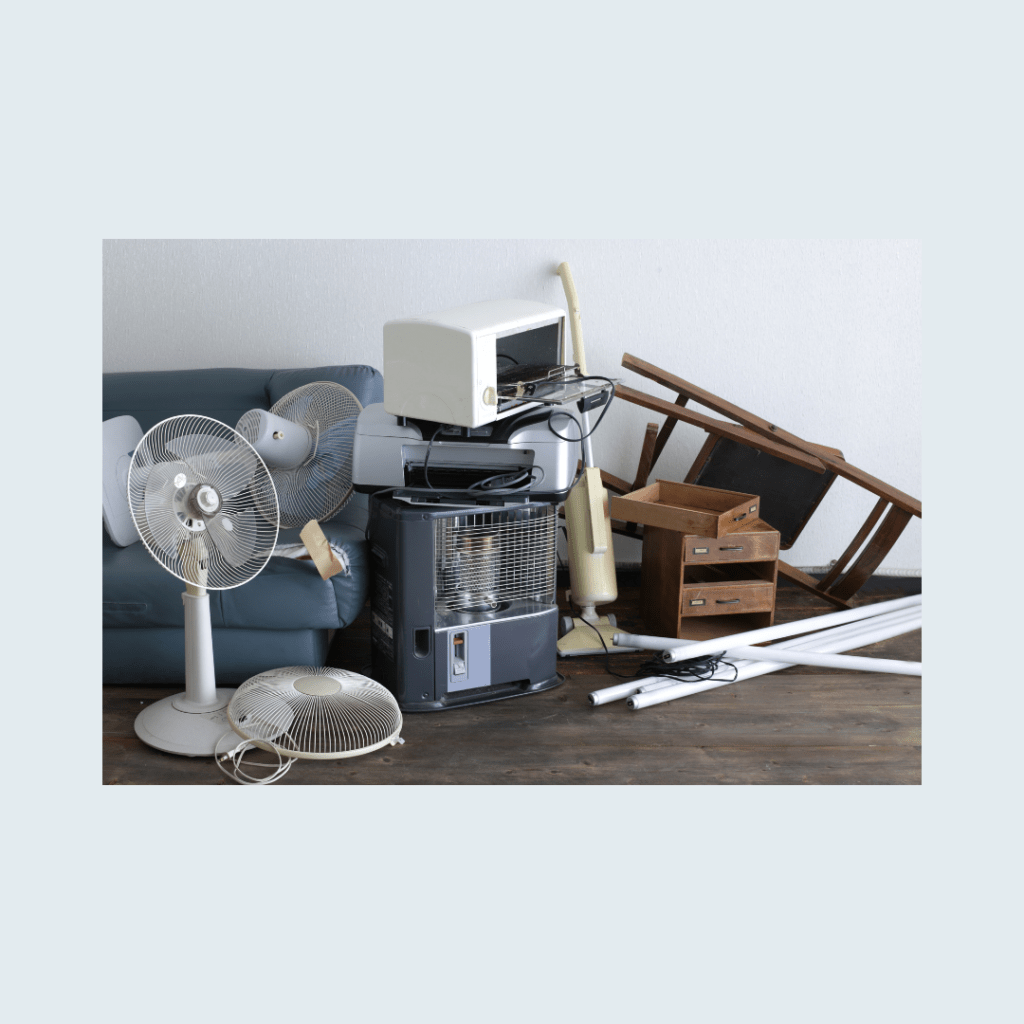
Did you ever walk into a room and look around at the clutter…just let out a sigh…and walk away, because you didn’t even know where to start?
Have you ever set out to organize a space and felt overwhelmed or frustrated halfway through, and given up?
Have you ever spent hours going through things just to create piles all around you and then give up stuffing it all back into the closet or garage?
We’ve all been there!!
But this step-by-step decluttering guide will help you get your home organized with ease. It can be used in any room, any pile of clutter, or any project you need to get organized.
Where should I start?
I’m going to help you avoid the overwhelm by telling you a secret…and that secret is…that to be successful you have to start small…like teeny tiny small…like ONE drawer, or ONE shelf, or ONE small pile to declutter….yes, that small!
By selecting a small area you’ll be able to declutter and organize it from start to finish, and in a short period of time. Then work your way around the room until you finish each drawer, each shelf, and each pile. Your success comes from finishing one small area at a time before tackling the next.
How long should it take?
It’s going to be different for everyone. It really depends on how much stuff you have and how quickly you can make decisions. Furthermore, it’s better to complete one area rather than only get started on two areas.
Work in these small areas in short bursts of time, like 30 minutes to 1 hour, and then take a break. This is about not only time management but energy management. You use a lot of energy and brainpower when you are making decisions. Typically I recommend no more than 3 hours total for a single day.
What should I do?
The method we’re going to use is called the SORT method and we’re going to walk through it together! SORT stands for Save, Offload, Relocate, and Trash. These are the few simple categories that we will be using as we implement the decluttering process. We’ll get into the details of this method below.
- Turn on your favorite music to enjoy while you work and grab a drink (to keep hydrated, not that kind of drink!)
- Then gather your tools. Get 4 boxes and Post-it notes for labeling.
- Label the bins with post-it labels, one for each category: Save, Offload, Relocate, and Trash. Now you’re ready to dive in!
Step-by-step Declutter Process:
- Clean everything out of the drawer, off of the shelf, or get the pile of papers out into one place.
- Start by taking each item, one at a time, and decide what you want to do with it.
- Place it into the corresponding SORT box.
SORT: Save, Offload, Relocate, and Trash
- Put the items that you want to keep in that drawer, on that shelf, or in that room into the Save box.
- Put the items you want to donate or give away in the Offload box.
- Temporarily hold the items that you want to save, but do not belong in this room in the Relocate box. (We will address this at the end of your SORT Session.)
- Put all the items that are broken, outdated, or unusable into the Trash box.
Organize and put away what you’re keeping:
- Once you have sorted all the things, you’re ready to arrange and place everything into that drawer, shelf, or cupboard.
- Separate them into categories, putting all the like items together. For example, say you’re organizing your junk drawer, put all the pens & pencils together, put all the batteries together, and put all the paper clips together.
- Most importantly, use small containers, dividers, and labels to keep things from shifting around and getting cluttered again.
Let’s wrap up!
- Take the Relocate box and make one trip around the house unloading items in each room as you go. You will want to resist the urge to just drop them into another pile in another room. Put them where they belong, in each room of the house.
- Get the Offload box right into your car and get those items donated or returned to those who should have them.
- Empty the Trash.
- Celebrate your progress and relax!
Continue the decluttering process, in small chunks when you have a window of time. Once you’ve gone through every space in that room, then move on to the next room and follow this same simple process.
Bonus tip:
Everything must have a home. It’ll be easy to put things away as needed once a home for your belongings is established. And label all your drawers, shelves, and containers to make it easy for everyone in your home to find and put things away.
This is the ticket to keeping your home decluttered moving forward. Not only will you’re space be neat and tidy, but you’ll be able to find what you need when you need it.
